
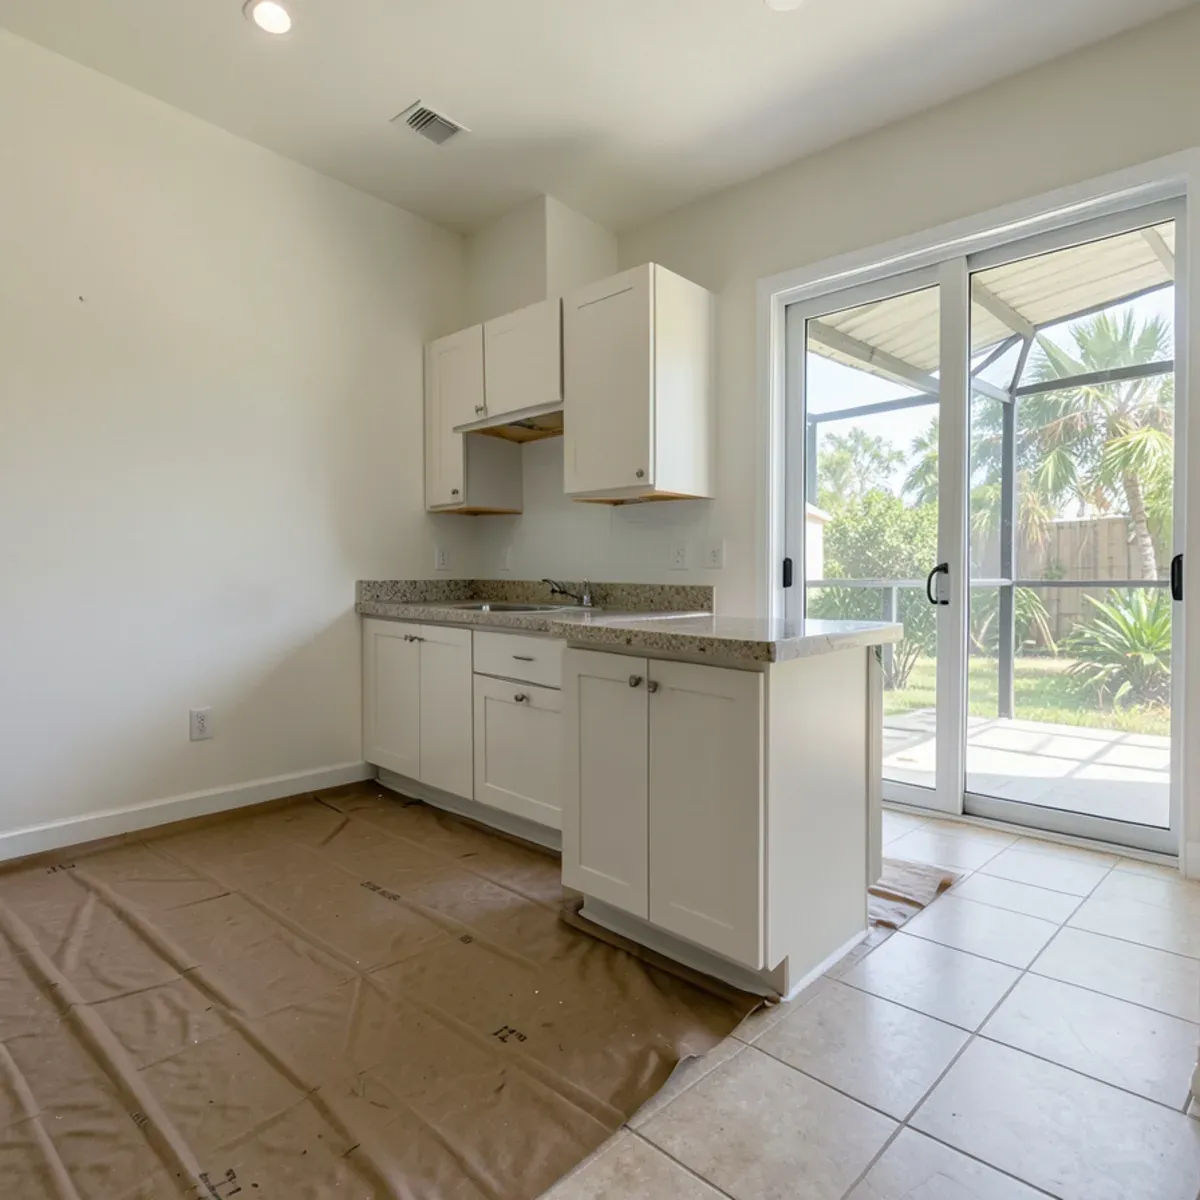
To prepare for countertop installation, empty the counters and the cabinets below them, confirm who is disconnecting and reconnecting the sink and appliances, clear a straight path from the driveway to the kitchen, and keep children and pets in another room. Most of the remaining work is ours; your part is mainly getting the room, the route and the trades lined up.
Install day goes fastest when the crew can walk in, set the stone and leave a clean kitchen. Every box left on a counter or car parked across the driveway adds time, and stone pieces are heavy enough that a cramped path is a real risk to your walls and door frames.
Use this as a checklist for the day before, then read the end section so you know what to expect during the first day after the tops go in.
What Should You Clear Out the Day Before?
Think of the kitchen as a work zone, not a room you are still using. Anything on, under or near the cabinets that will get new tops should be moved.
- Everything on the old countertops, including small appliances, knife blocks and the paper-towel holder
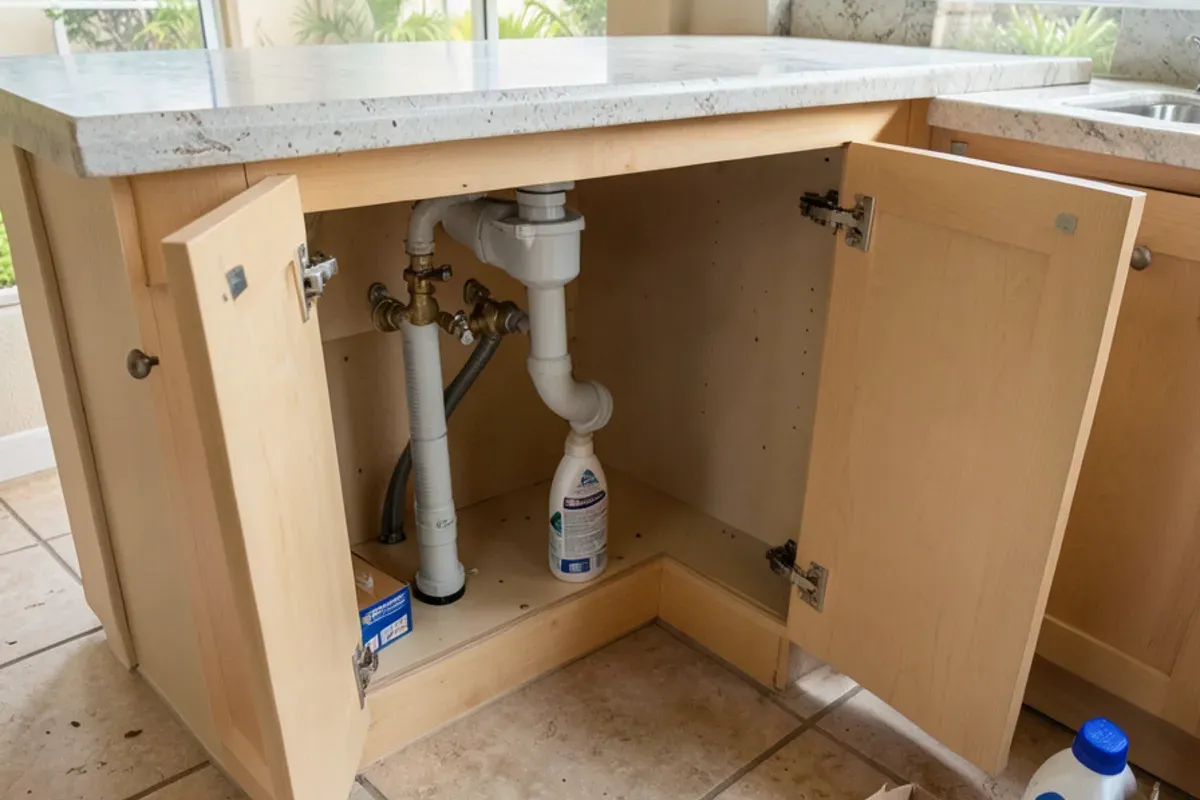
- The contents of the sink base and the cabinet under the cooktop, since installers work inside those boxes
- Upper-cabinet items directly above the work area if they are fragile, because seam setting and leveling can bump the boxes
- Rugs, stools and anything stored along the path from the door
- Wall art and shelves on walls that the slabs will pass
Want a straight answer for your kitchen? Call the shop.
Free in-home estimates · Mon–Fri 7:00–4:30 · weekend estimates by appointment
Plumbing, Gas and Appliances: Who Handles What?
This is where install days most often stall. The old sink usually has to be disconnected, a slide-in range pulled out, and the dishwasher's mounting brackets released before the new stone can go in. Your written estimate should spell out which of these are in our scope and which belong to another trade.
| Task | Who usually handles it | What to confirm |
|---|---|---|
| Disconnect old sink and disposal | Plumber, or per your estimate | Water shut-off works and is accessible |
| Reconnect sink, faucet and disposal | Licensed plumber | Date booked, often after the sealant cures |
| Pull out slide-in or freestanding range | Homeowner or installer, per estimate | Gas or power disconnected safely first |
| Gas line work for a new cooktop | Licensed gas professional | Any permit the change requires |
| Dishwasher brackets | Installer, during the set | Brackets compatible with stone, often side-mounted |
Plumbing relocation, new circuits and wall changes fall under licensed trades in Florida and can need permits, so flag any of them early. When the sink stays exactly where it is, install day is far simpler.
Clearing a Path for Heavy Stone Pieces
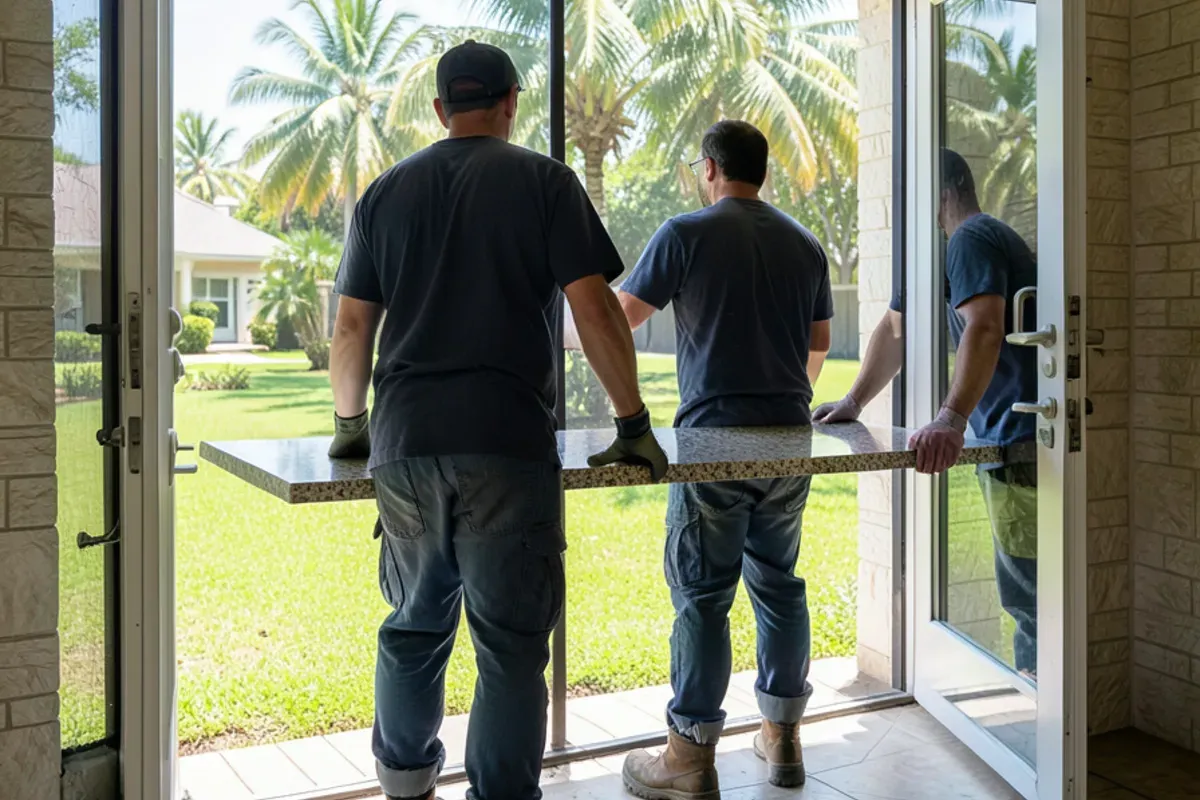
Stone countertops travel on edge, carried by two or more people or on an A-frame cart. Walk the route yourself: from where the truck will park, through the gate or garage, to the kitchen. Measure the narrowest doorway and look for tight turns.
- Leave the driveway open and move vehicles to the street
- Unlock side gates and screen-enclosure doors if the lanai slider is the easier way in
- Prop open storm doors and remove any that swing into the path
- Pick up hoses, planters and toys along the walkway
- If you live in a community with an HOA, check whether it limits contractor parking or work hours
That last point matters in the master-planned neighborhoods of Port St. Lucie, such as Tradition, where an association may set its own rules for contractor vehicles at the gate or on the street. A quick call to the management office a few days ahead saves a delay at the entrance.
Larger lots in White City often mean a longer carry across a lawn or a gravel drive; after a summer storm, soft ground matters, so tell us if the route is sand or grass rather than pavement.
When an afternoon storm rolls in
Stone is carried outdoors for part of its trip, and wet pavers, a slick lanai deck or lightning nearby make that carry unsafe. Summer afternoon storms are routine here; For ZIP 34945, Bestplaces records 54.7 inches yearly, compared with roughly 38 across the U.S. If weather arrives with the truck, the carry waits until it passes. Keep a towel or mat by the entry door so wet boots do not track onto your floors once the carry resumes.
What Happens on Install Day, in Order?
Knowing the sequence helps you decide where to be and when the kitchen is safe to walk through again.
- Walk-through: the crew confirms the pieces, the sink and the plan with whoever is home.
- Protection: floors along the route and in the kitchen are covered, and doors are propped.
- Tear-out, if it is part of the job: old tops come off and the cabinet tops are cleaned and checked.
- Dry fit: each piece is set in place, checked for level and gaps, and adjusted before anything is glued.
- Bonding: seams are joined and leveled, and the undermount sink is mounted beneath the stone.
- Finishing: any stone backsplash is set, joints are caulked, and the work area is cleaned before a final walk with you.
The kitchen is a no-go zone from the second step to the last. Steps four and five are where a quick question to you, about a seam or an outlet, is most likely.
Protecting Floors, Walls and Furniture
Our crew lays down protection and works carefully, and customers have noticed: one Google reviewer wrote that the installer worked to "keep the area clean and protect my home." You can help by moving furniture out of the path and telling us about anything delicate, such as original terrazzo, new wood flooring or a freshly painted wall.
Most cutting happens in the shop. Small field adjustments, if needed, are made outside or with dust control, but it is still wise to close the doors to bedrooms and cover electronics in open-plan living areas.
After the Install: The First 24 Hours
Once the tops are set, the adhesive and the silicone around an undermount sink need time to cure before the sink takes weight or water. Ask the crew how long to wait for your specific sink and material, and pass that on to your plumber.
- Do not lean on or sit on an island overhang until it has cured
- Keep heavy pots out of a newly mounted sink until the plumber reconnects it
- Wipe the stone with warm water and a mild soap; skip harsh cleaners for now
- For granite and other natural stone, ask whether it was sealed at install and when to reseal
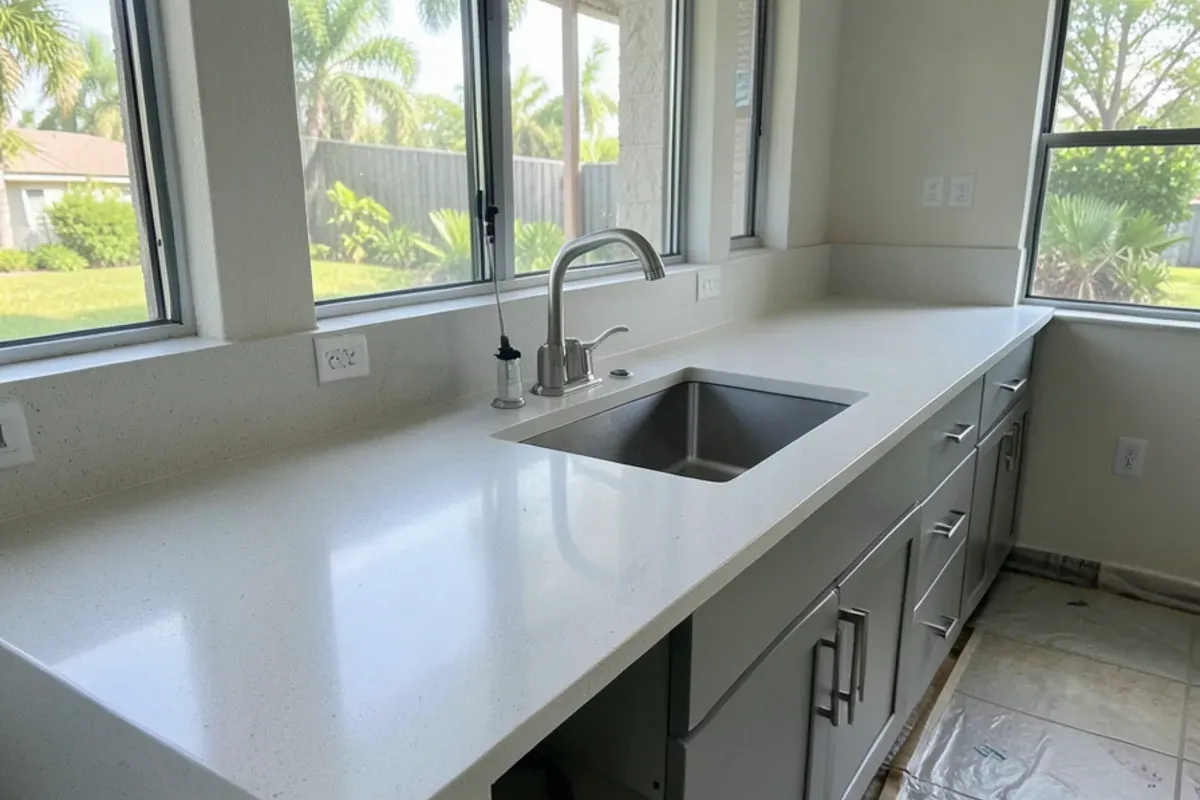
Our kitchen countertops page covers material care in more depth, including how granite, quartz and marble each handle daily use.
From Our Install Crew: Small Things That Save an Hour
We see the same few hold-ups again and again: a sink cabinet still full of cleaning supplies, a range that cannot be moved because nobody knows where the gas shut-off is, and a car blocking the only flat route to the front door. None of them are hard to fix the night before.
We also ask that someone who can answer questions stays home during the set. If a seam needs a final call or an outlet sits closer to the backsplash than expected, a two-minute conversation keeps the job moving instead of waiting on a phone call.
One small decision has a real trade-off: when to disconnect the old sink. Having your plumber do it the evening before means the crew starts the moment they arrive, but it also means a night without kitchen water. Leaving it until the morning keeps the kitchen working, but the install then waits on the plumber's arrival. If you choose the morning, confirm a time with the plumber that lands before ours, and know where your main shut-off is in case a valve will not close.
Questions We Hear About This
Can we stay home during the countertop installation?
Yes, and we prefer that an adult is there. The kitchen itself will be off limits while the stone is carried in and set, so plan to be in another room. Keep pets shut away from the open doors and the work path. Once the tops are leveled and the seams are set, you can come back in and walk the job with us.
When can we use the sink again after install?
That depends on the sealant and adhesive used to hang the sink and on when your plumber reconnects it. Many installs mean a day without the sink, though some reconnect sooner. Ask the crew for the cure time before they leave, write it down for the plumber, and avoid filling the bowl or loading it with dishes until then.
Do we need to empty the upper cabinets too?
Not entirely. Upper cabinets are rarely touched, but installers working below them can bump the boxes while setting seams or leveling, and glassware can rattle. Moving fragile items from the shelves directly above the work area is a simple precaution. Everything in the lower cabinets that get new tops should come out, especially the sink base.
Do we have to take the old countertops off ourselves?
No. When tear-out is part of our job, the written estimate lists it separately, and the crew handles it on install day or before the template. Check that line so there is no confusion. What helps is emptying the counters and cabinets, and telling us at the estimate if the old tops are tile, since mortar-bed tile takes longer to remove than laminate.
The Bottom Line
Preparing for install day comes down to three things: an empty work area, a clear route for the stone, and the plumbing and appliance work lined up with the right trades. Handle those, and the crew can spend its time on fit and finish instead of moving boxes.
Still planning? The steps from first visit to final walk-through are on our countertop installation page. Phone us to arrange a no-cost estimate at your home; we can come on a weekend if you ask.